2.26.2013

Jean Apron


Well, I book marked this pattern over 2 years ago. Finally, I got a chance to make it and I love it. If you click over and look at the pattern. You will notice that I left off the pocket. I was not fond of the pocket. So, I left it off. 


(note: it is late at night when I modeled for this photo and I never like having my photo taken. I also needed to mop the floor from all the snowy boots that walk through my kitchen from the garage during the day. But, I decided to sew before doing it. Bad on me for not mopping up before taking a photo for this post. So, forgive my imperfections.) 


I had already sewn the jean legs together to make the apron when I realized that I for got to take photos. 
 Once I pinned the waist ban on, it seemed like sewing the rest of the apron when pretty quick. It took a total of 2 hours, with interruptions included,  to make this apron. 


Ironed it flat. 


Then pinned my ties on. Which I made our of bias tape. I made everything from scraps that I had. The idea of spending money did not thrill me. So, this cost me nothing but time. 


Finally I was almost done. Checking the clock to make sure I stopped to get children tucked into bed. I had this all pinned on the way I wanted. Not much ruffle! 


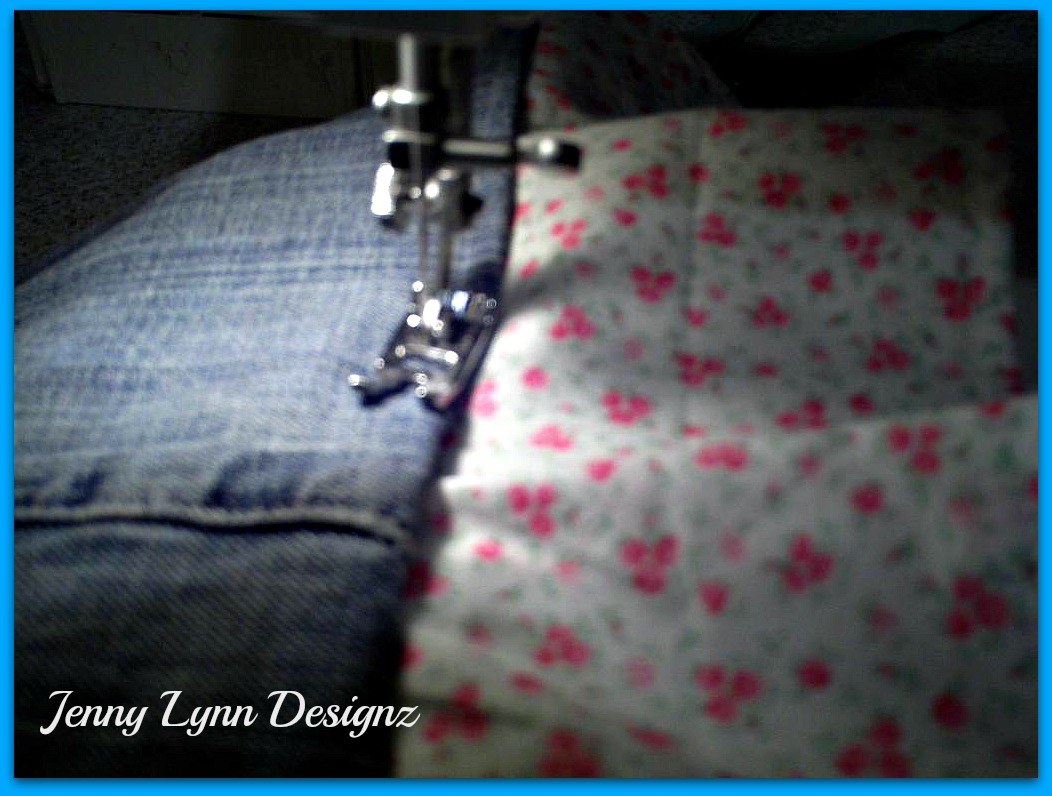
Top stitched to give a nice finish. 


Done! 
Honestly, if you want to make one go here, Lucy of My Byrd House gives great instructions, they are easy to follow and I am grateful that she shared this fun pattern. It was fun to make! I won't be keeping it, I will be giving it away. 

2.24.2013

How To Make Toilet Paper Flowers

My weekend has been a tad stressful. Crafting for me is therapy. Believe me I needed some Sunday therapy after one of my worst nightmares as mother happened. Late Saturday night as we were just getting ready to go to bed, Hubby and I received a phone call from our son letting us know that he was in a car accident. Police were on their way and the car would need to be towed. We were just grateful that he and his girlfriend were going to be fine. It caused a little stress for us on today. As I type and show off my lovely creations, I am totally relaxed finally. 


HOW TO MAKE TOILET PAPER FLOWERS: 

Pre-cut the toilet paper rolls 1/2 inch thick or so. It doesn't have to be perfect.


Personally, I have a shoe box full of lids from all kinds of drink bottles. I know, what a weird thing to collect. For this project I preferred using water bottle lids. But, I think any kind of lid would work just fine. 


Then I like to plan my flowers before hot gluing them together. It really is a time saver to match up 4 -5 flowers at a time. If you are at all like me, time is very precious/limited and needs to be used wisely. 


Glue carefully please, as blistered fingers are not fun. I had a couple of close calls. 


Place hot glue around the edge of the lid you decided to use. Careful once again of your fingers. 

Viola'! You have a flower ready for some color. (spray paint)
 I do make a 5 petal and a 4 petal flowers. Just to have a little variation. 


Here is a 4 petal flower. Which looks just as fun as the 5 petal one does. 


Here is a peek at the madness taking place on my dinning table. 
One of my kiddo's came along while I was taking care of something else, and organized my bottle caps. It made me giggle when I saw it. 
Can't wait to show off what they look like all painted and hung up in my bedroom. 
Such great therapy! What do you do to relax when you have stress happening? 


2.22.2013

Toilet Paper Flower

Here is a glance at my current project. 

Which I am totally excited about.

The cap is from a water bottle. 

I am really enjoying that I am re-purposing some part of the water bottle. 

We go through lots water bottles. 

Recently, Bradley has started asking me when his birthday is. 

Now, we just laugh because his Birthday is in the Fall. 

But, I managed to find something really cool to help him count down until it is his Birthday. 

It is here
Simply type in the date and it tells ya how many days until that date. 
It sure makes it easy to when he ask how many days until his Birthday. 

Do any of your children start planning their Birthdays early? 

2.07.2013

Little Red Pot

This cute flower pot was free, given to me during the summer by a family member. The  poor pot was on it's way to the local thrift store before finding a home with me. I was more than happy to take it when it was offered to me. I just knew that I could freshen it up and re-purpose it.

 I really like how it turned out once I gave it fresh coat of red spray paint.
 I looked around to see what I had on hand to put in it so that it could sit pretty on my mantel for Valentines. I ended up using grocery sacks stuff down inside the pot then poked a hole through the middle of them, and placed my leafy green goodness inside. By the way the fake plant was free. Another item actually headed for the trash. But, I saved it.

 I adore how my little red pot looks all updated and filled with something green. It fit's wonderfully on my mantel in my living room. Perfect for Valentines Day!

Related Posts Plugin for WordPress, Blogger...